


Awning Colour Changing LED Light Kit – For 2.5m Projection Awnings
Original price was: £79.99.£55.99Current price is: £55.99.
- SSL encryption, absolutely safe shopping
- The quality solution for all your needs.
- We take quality seriously.
- Unbeatable quality, unbeatable prices.

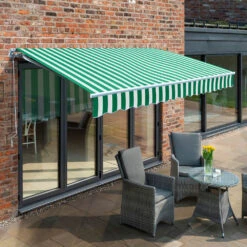
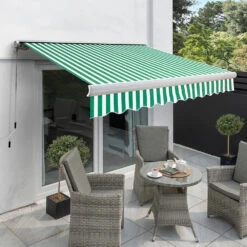
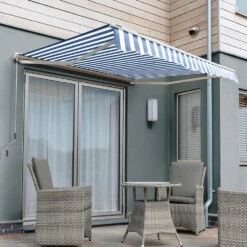
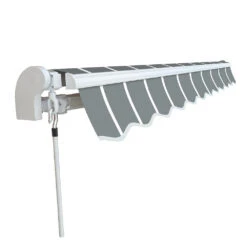
The party does not have to move indoors once dusk falls with this amazing LED
Awning light kit. Keep guests entertained with this lighting that is
not only practical but also offers a decorative effect with the
stunning different lighting modes. This lighting is perfect for entertaining
guests, small family gatherings or on warm summer evenings when you simply
can’t put that book down.
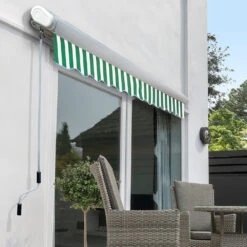
We also offer this awning LED kit for awings with a 2m or 3m
projection. Please see the links below:
LED Lights for 2m Projection Click Here
LED Lights for 3m Projection Click Here
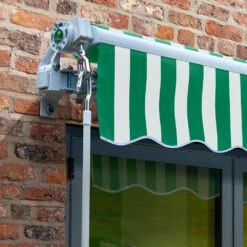
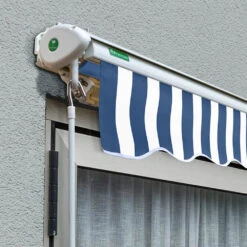
Please note:
If you’re installing these light kits for a full cassette model. Please make
sure you adjust the arms to 15 – 20 degrees. This will allow clearance space.
If you have the angle at 21 – 30 degrees, the LED lights will touch the bottom
of the cassette and won’t close properly. This is very easy to adjust, just
use an allen key and turn clockwise on the wall brackets. This will adjust the
angle of the arms.
This LED Awning Lights Kit is very quick and easy to install, please follow
our helpful step-by-step guide below:
| Features
| Specifications
|
| Colour Changing LED Lights This LED Light kit is suitable for all occasions thanks to the |
| What’s in the box? This LED light kit consists of, LED light reel, 10m transformer |
| Step 1: Lay out the Kit The best way to begin installation is to lay all of the parts on the |
| Step 2: Align Correctly It is important to place the cable under where the awning arm bends. |
| Step 3: Remove Stickers The LED light strips will have red stickers on the back, please peel |
| Step 4: Attach LED Strip You can now stick the LED Light Strip to the awning arm whilst slowly |
| Step 5: Hide Cable wires There will be approximately 5m cable wires connected onto the strip. |
| Step 6: Attach other LED Strip You can now stick the other LED Light Strip to the other awning arm. |
| Step 7: Connect Controller/Transformer The next step is to connect the controllers and transformer together. | Step 8: Ready to go! Now simply plug everything in and use the handy remote control to |
Please see below for more installation and final set up images of
this light kit.
Please note:
If you’re installing these light kits for a full cassette model. Please make
sure you adjust the arms to 15 – 20 degrees. This will allow clearance space.
If you have the angle at 20 – 30 degrees, the LED lights will touch the bottom
of the cassette and won’t close properly.
Be the first to review “Awning Colour Changing LED Light Kit – For 2.5m Projection Awnings”
Related products

Awning Accessories

Awning Accessories
Plain Blue Polyester Cover For 3.5m X 2.5m Awning Includes Valance
Reviews
There are no reviews yet.